In the Events Builder, you are able to add custom sections to your sponsor booths. The page layout editor used in custom components is a WYSIWYG (What You See Is What You Get) editor, meaning that the content you build in the editor is a near-exact representation of what your event attendees will see when they log in to your event.
Topics in this article include:
Layout Editor Navigation
Once you've added a custom component to your booth/poster, click the pencil icon beside the new custom section, then Edit Layout when the sidebar appears.

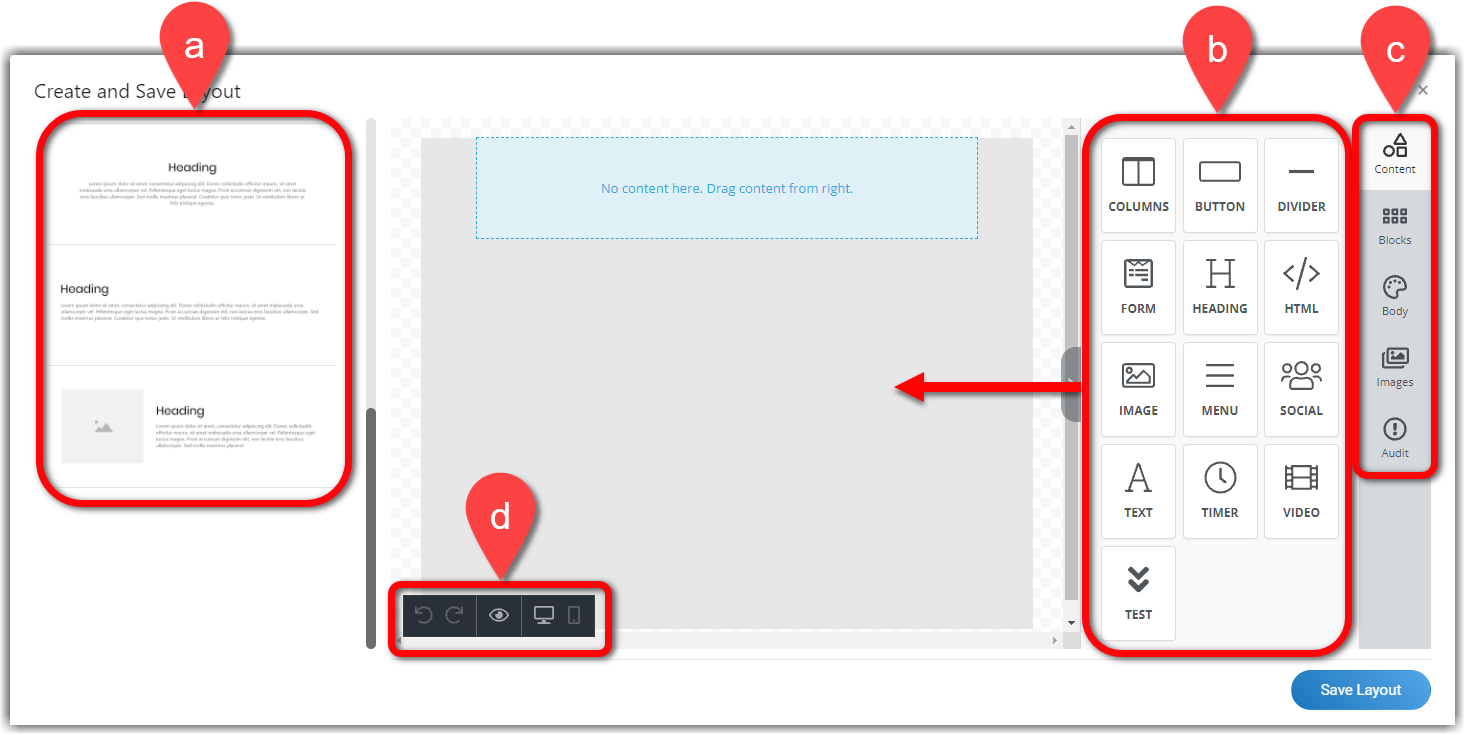
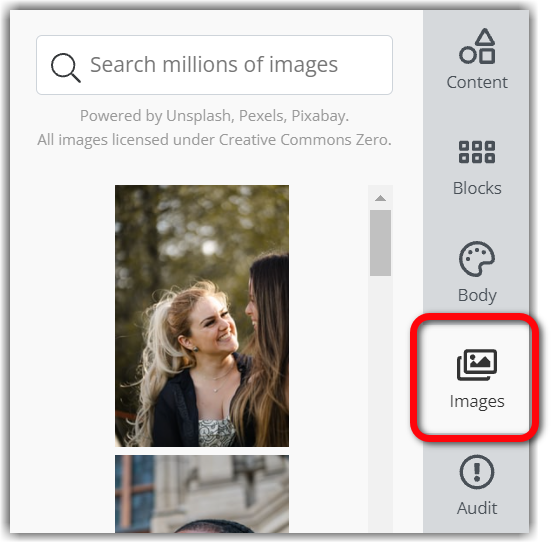
On the layout editor page, you can either chose one of the pre-built templates on the left side of the screen (a) or create your own layout from scratch by dragging components from into the center pane from the right side of the screen (b). Use the menu options on the right side of the screen (c) to view different layout options (Blocks), update the layout's general settings (Body), insert stock pictures (Images), and check to make sure the layout is error-free (Audit). The options at the bottom of the screen (d) will allow you to preview your layout on different screen sizes.
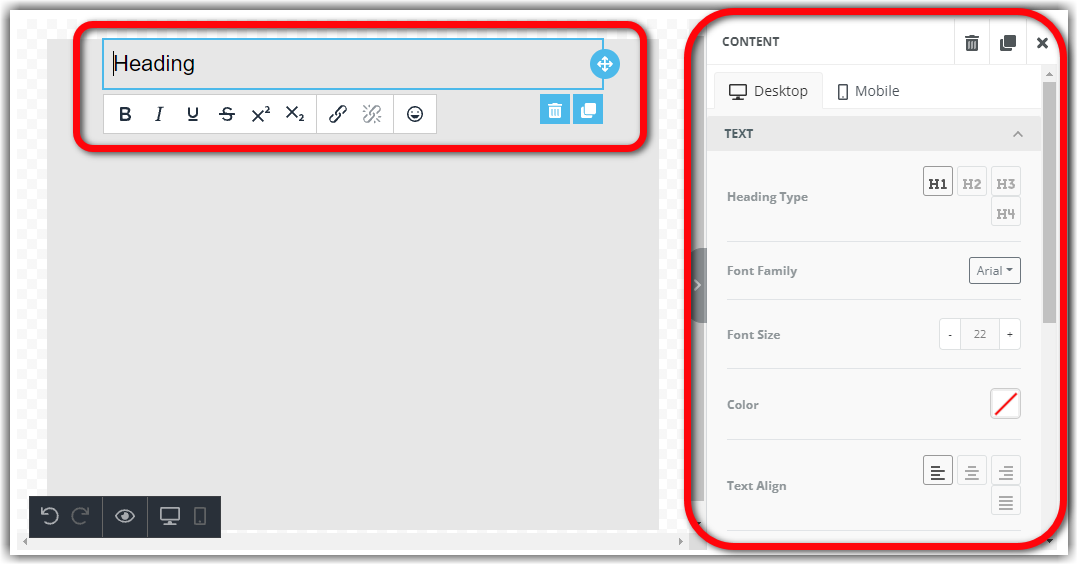
Once you've added content to the center panel, simply click on the content to edit it. The right side of the screen will automatically populate with the customizable settings available for that content type. Click and drag components to rearrange your layout.
Body Settings
Click Body in the far right sidebar to adjust the layout's basic settings, including text and background color. Use the Content Width setting to determine the width of the component. You can determine this by entering a set pixel width or a percentage.

Font Customization
The layout editor includes the following font families by default:
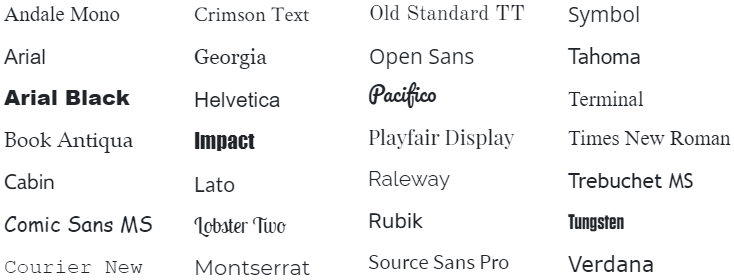
If you would like to use a different font, please provide the necessary font files to your CSM, and Social27 will add it to the layout editor.
Content Blocks
There are many different content blocks you can choose from when editing your custom layout:
Columns
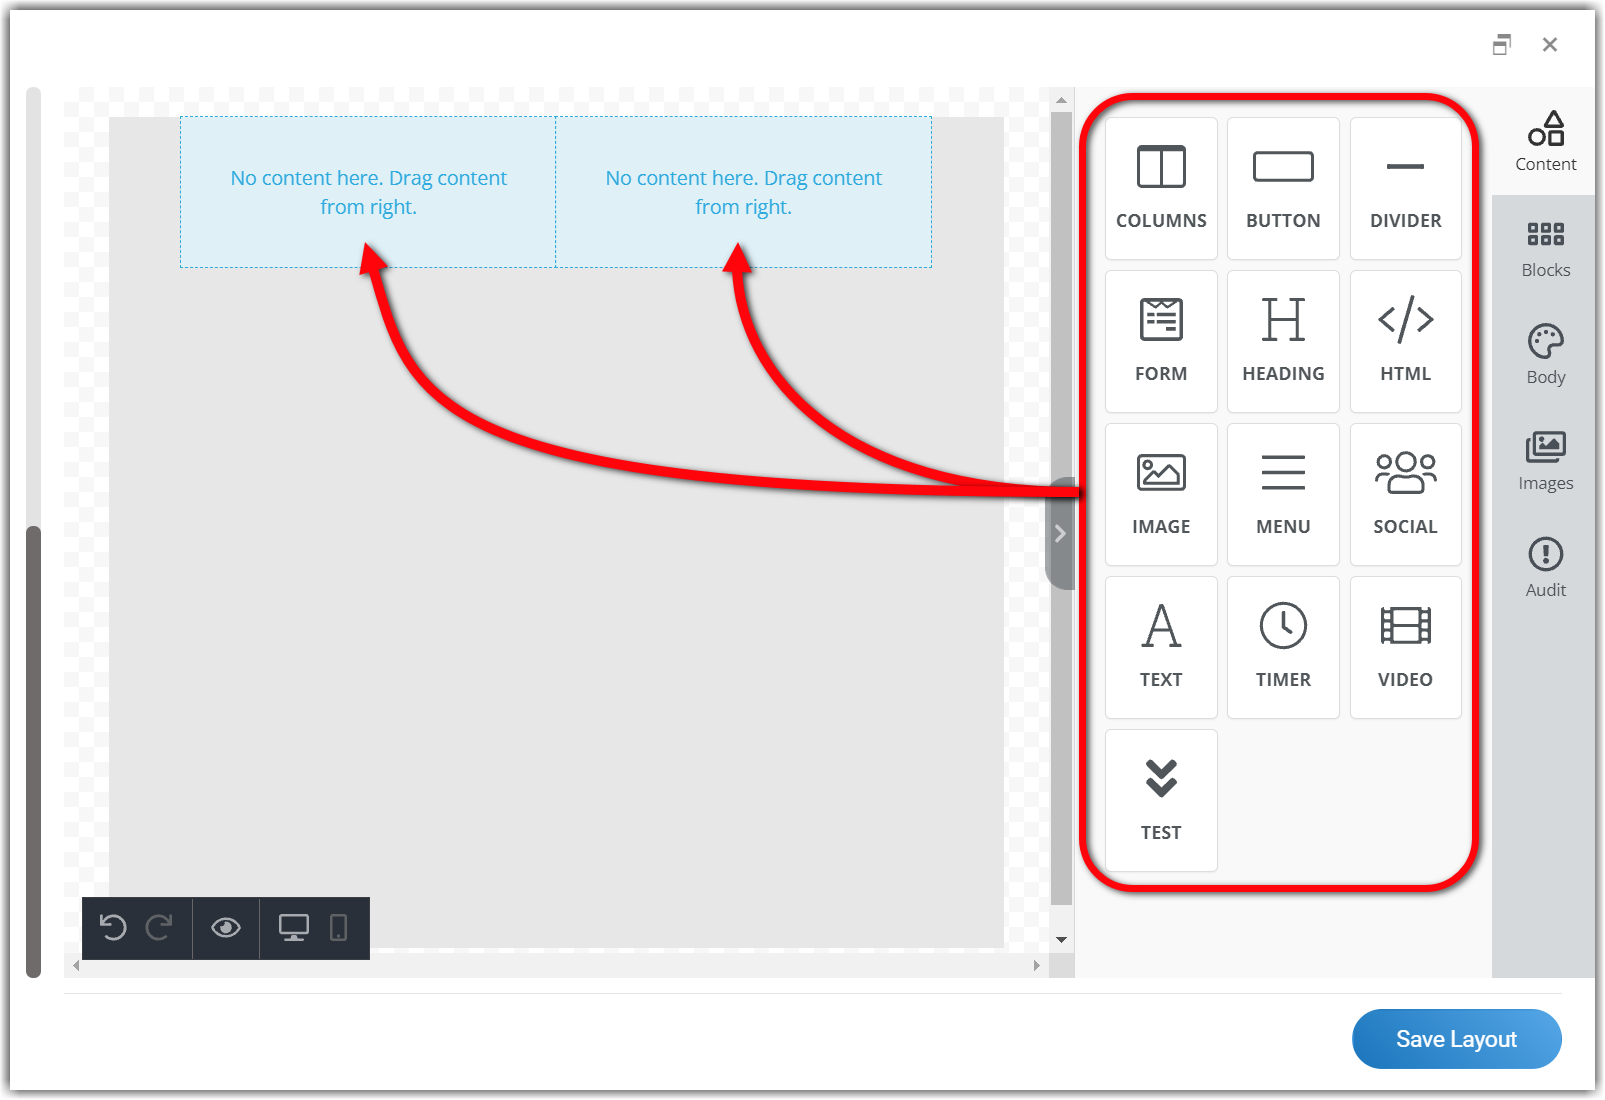
The Columns block allows you to change the layout of your custom component. Once you've inserted a column, you can then select another content type and place it inside one of your columns. Columns ensure you are able to lay out your component exactly the way you want it. You can also treat the columns as a table and give each cell a background color and/or borders.
You can also access the Columns bock by clicking Blocks on the far right side of the screen.
To add content to one of the cells, click and drag a content block into it from the list on the right side of the screen.
Button
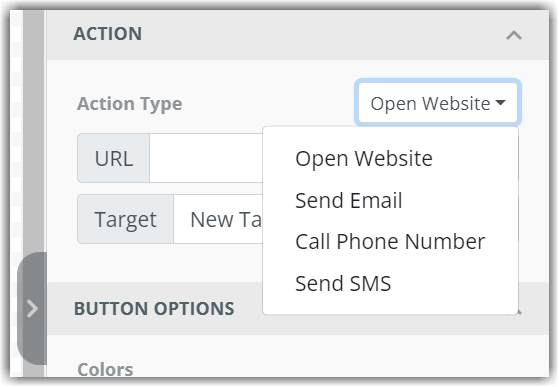
When adding a button to your layout, you control the button appearance and set what action happens when the button is clicked.
Divider
The Divider block allows you to insert a horizontal line across your layout, dividing it into sections.
Form
Use the Form block to insert a form into your layout. You add any of the following fields to the form:
|
|
Heading
The Heading block allows you to insert a heading (H1, H2, H3, or H4) into your layout. You can adjust the default format of these default heading styles.
HTML
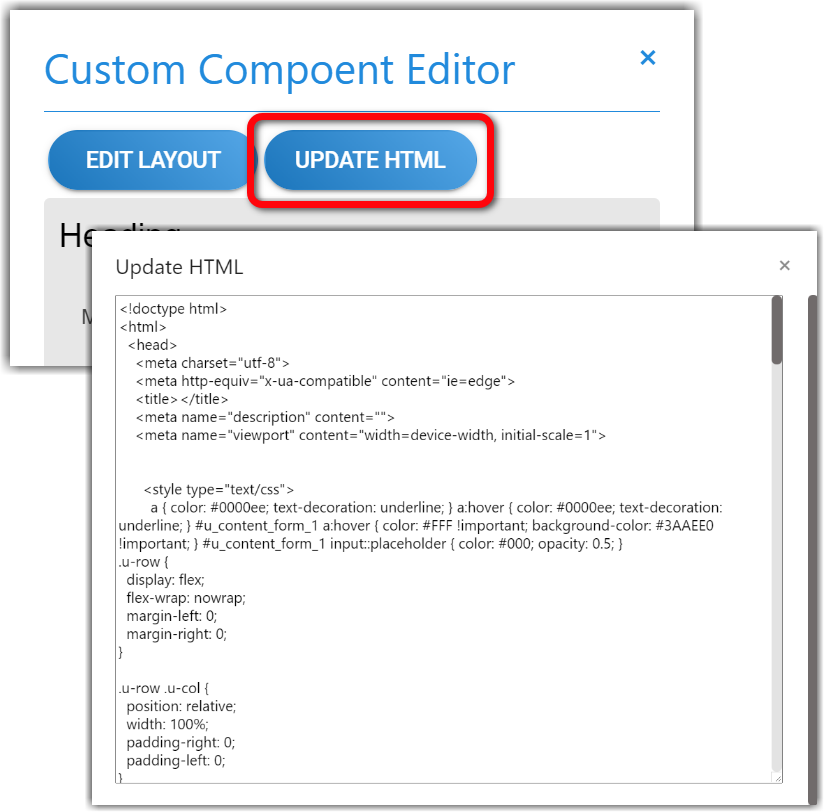
Use the HTML block to add custom HTML to your layout editor.
|
|
Image
Use the Image block to insert images into your layout. You can add alternative text, as well as turn the image into a hyperlink.
|
|
Menu
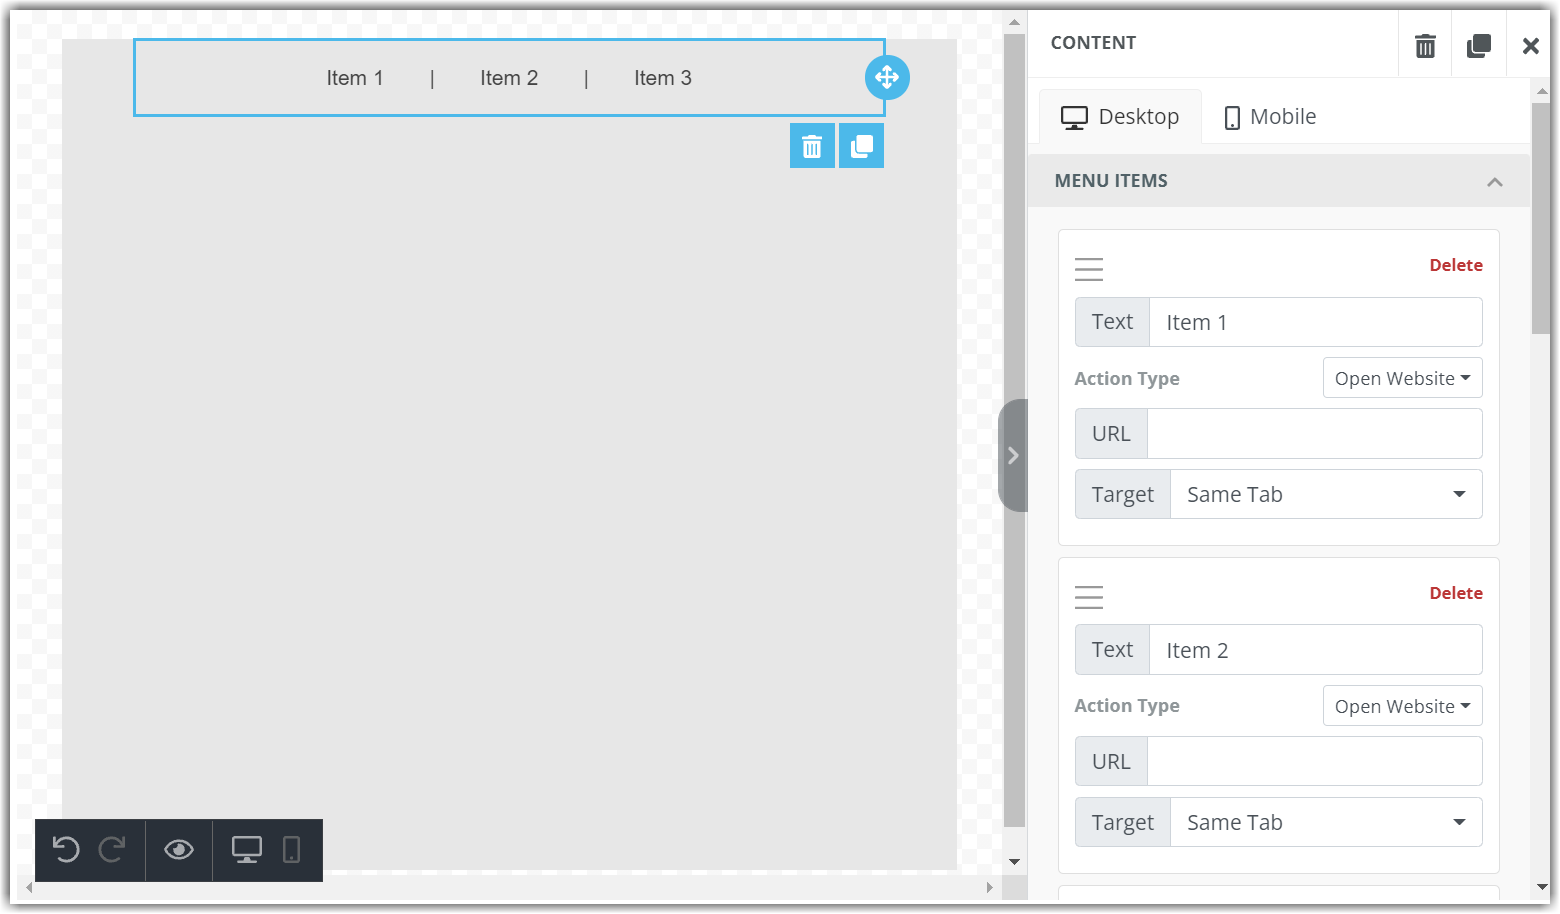
The Menu block allows you to add a menu to your layout, which is essentially a list of links. You can customize the menu format, menu items, as well as what happens when a user clicks on each item.
Social
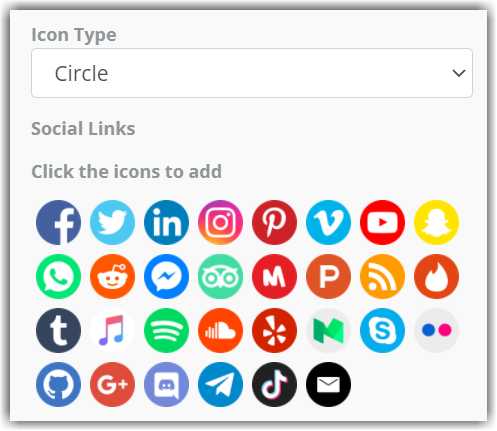
Adding a Social block to your layout will insert social media icons. You can select from a list of icons and icon formats, and insert your desired social media links.
Text
Use the Text block to add basic text to your layout. You can fully customize the format of this text and its layout.
Timer
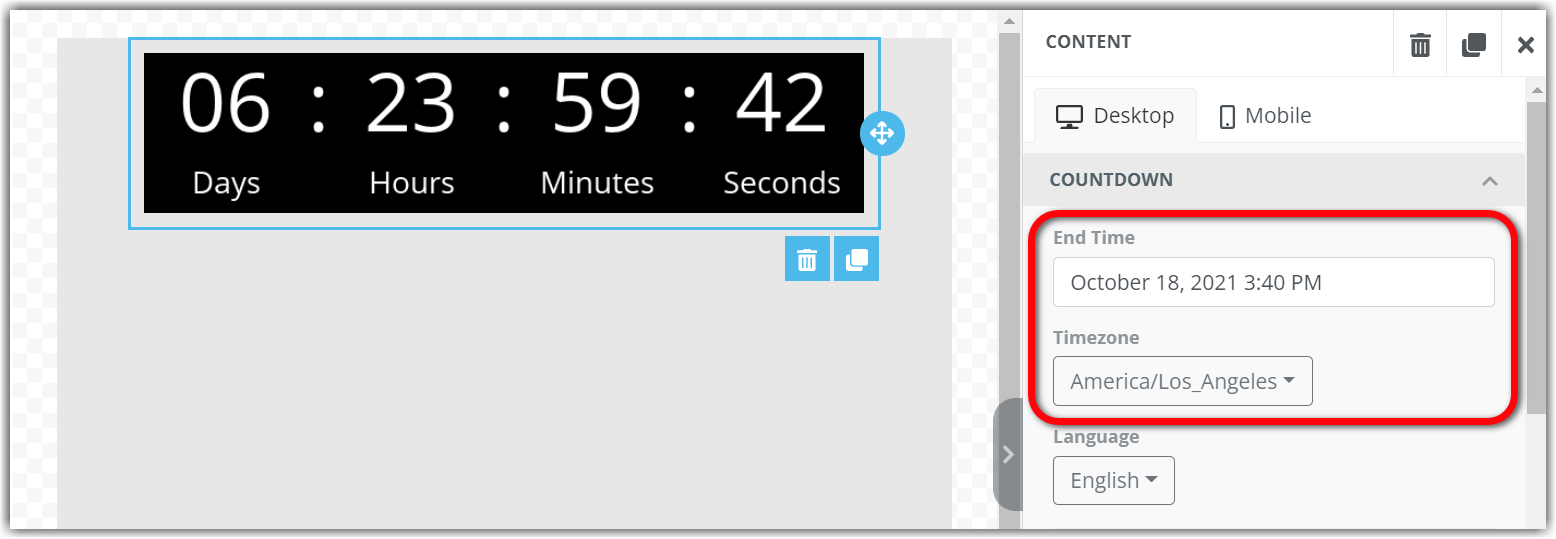
The Timer block will add a countdown timer to your layout. Set the end time to determine how much time is added to the timer. Don't forget to set the time zone to ensure the timer counts down to the correct time.
Video
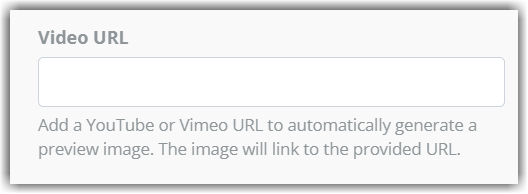
Use the Video block to insert a video into the layout. You cannot host a file in the page layout editor. You must host the video on an external site, such as YouTube or Vimeo, to include it in your layout.
Layout Audit
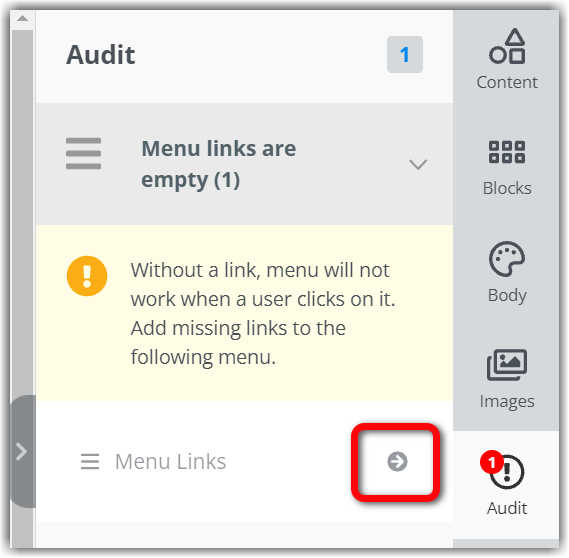
Click Audit in the far right sidebar to check your layout and make sure you added all necessary links and actions to your various content blocks. Clicking on an error will reveal more information and include a link directly to the problem block.
Publish Component
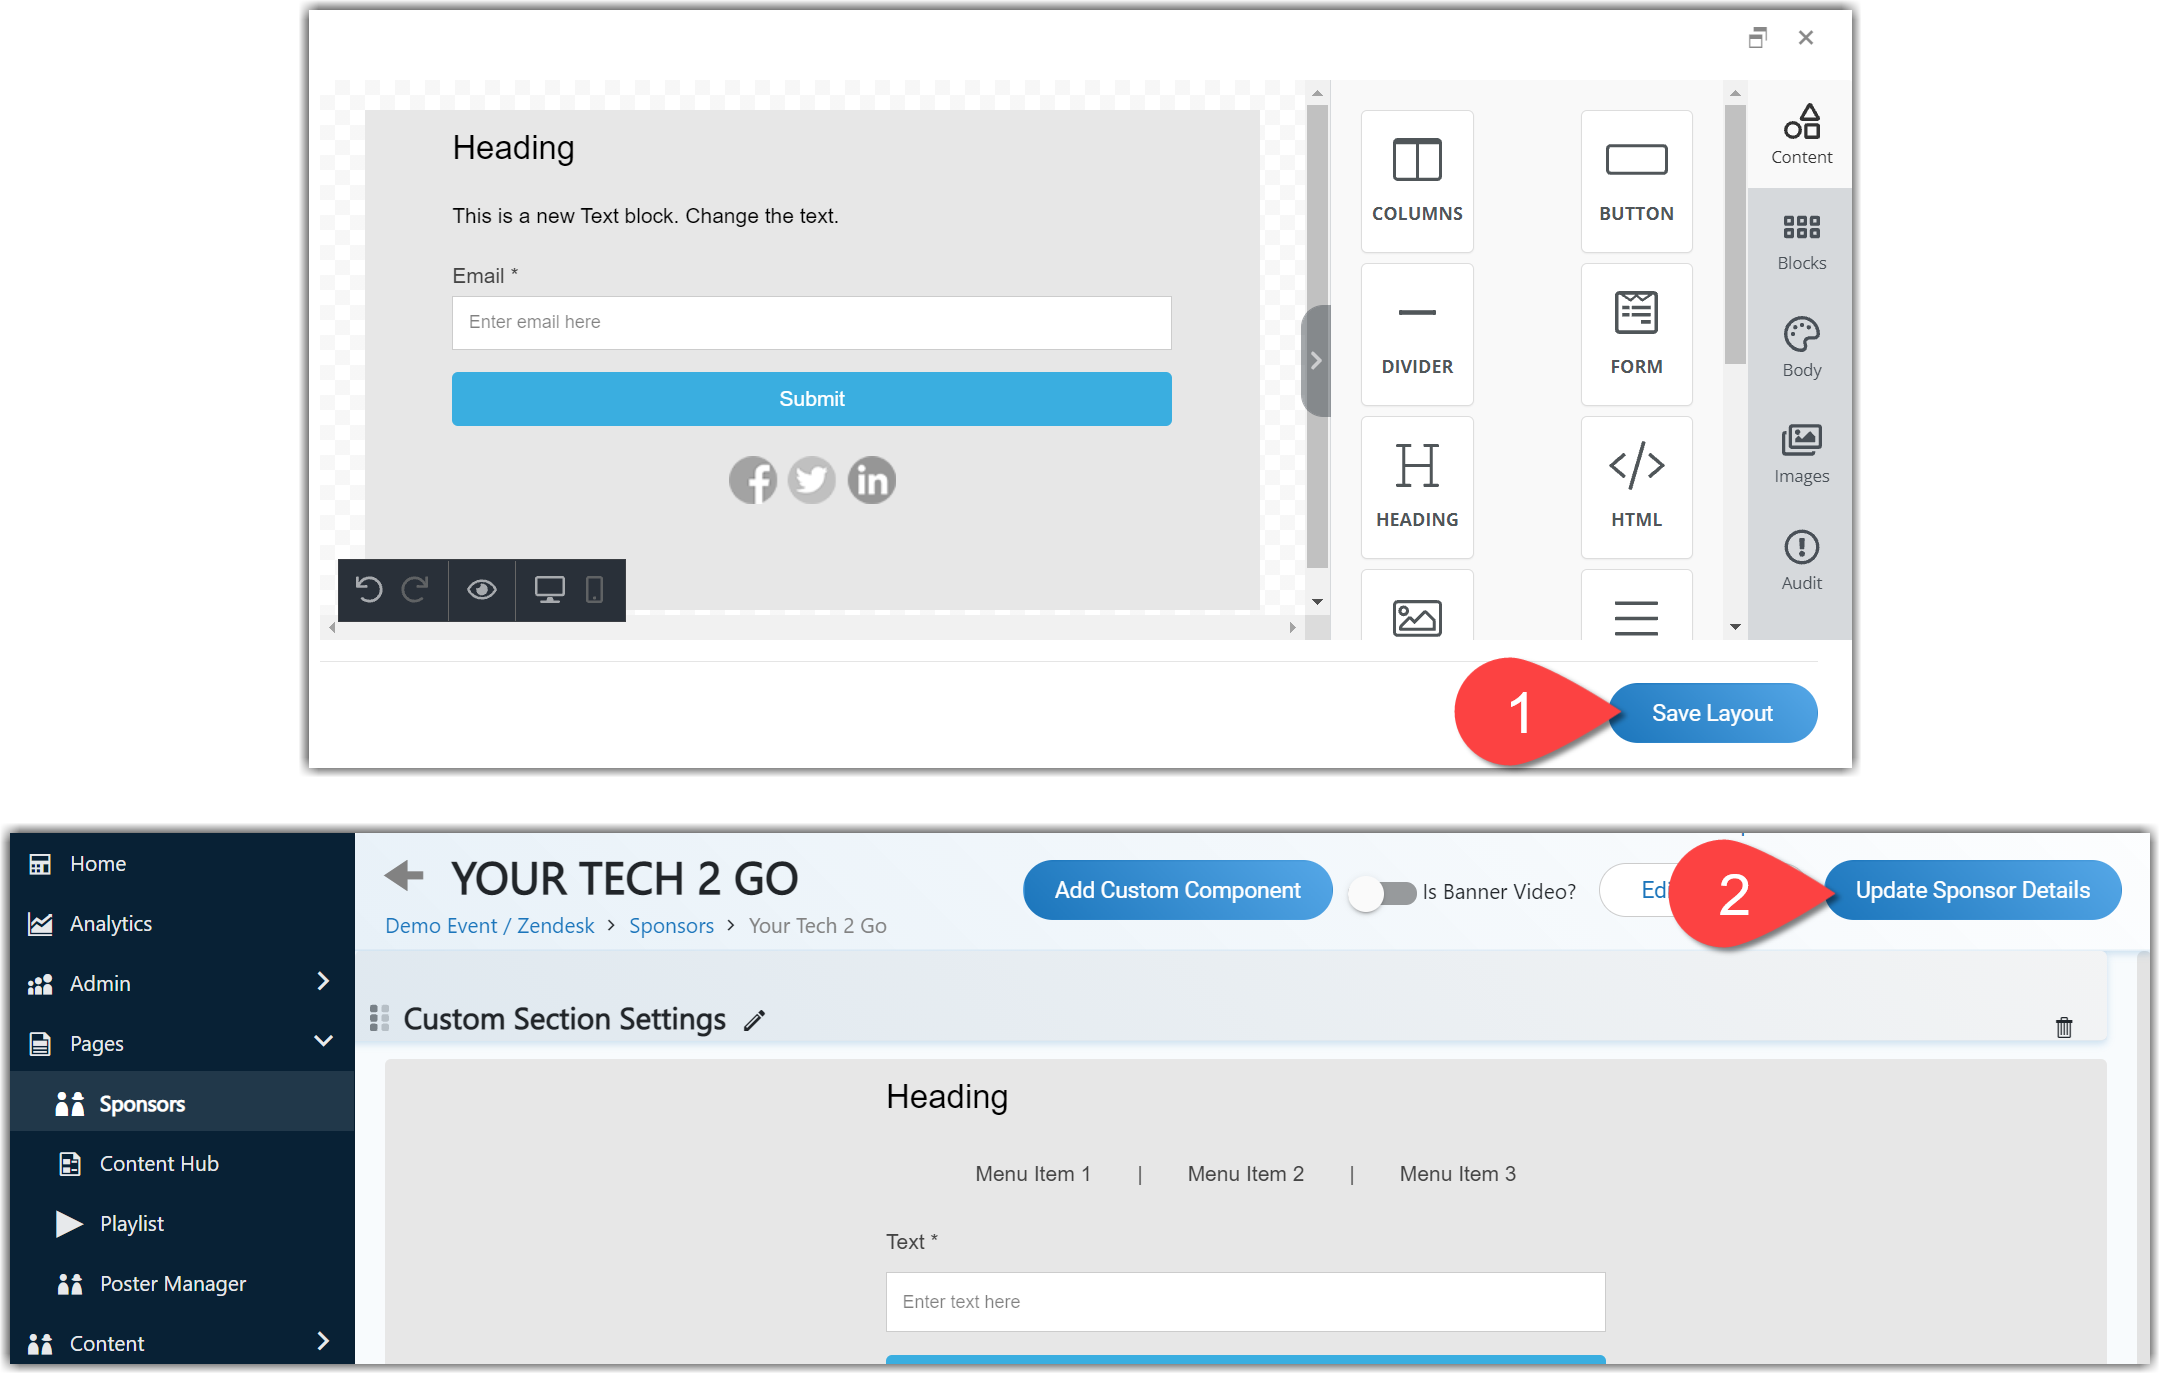
Click Save Layout on the page layout editor screen then Update Sponsor Details on the sponsor booth page to save your changes and publish the custom component on your event site.
![]() Further Reading:
Further Reading:
Comments
0 comments
Please sign in to leave a comment.