You can create posters for your event, which allow you to share presentations, resources and other relevant information with your attendees.
Once they have been created, there are two pages from which you can edit a poster: the Edit page, and the Manage page. This article details the Manage page and how to change the layout of a poster and the content that appears within it. Check out this article to learn how to edit poster settings.
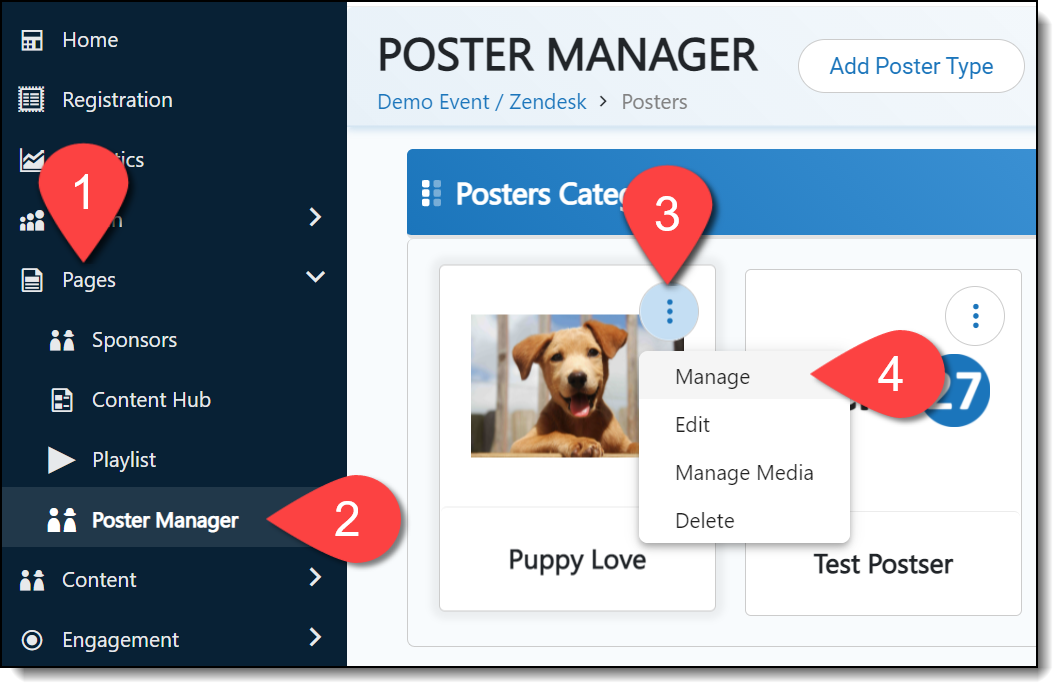
To manage a poster, login to the Events Builder and select your event. Select Pages > Poster Manager from the left navigation panel. Click the ellipses icon in the top right corner of the poster you want to edit, then click Manage.

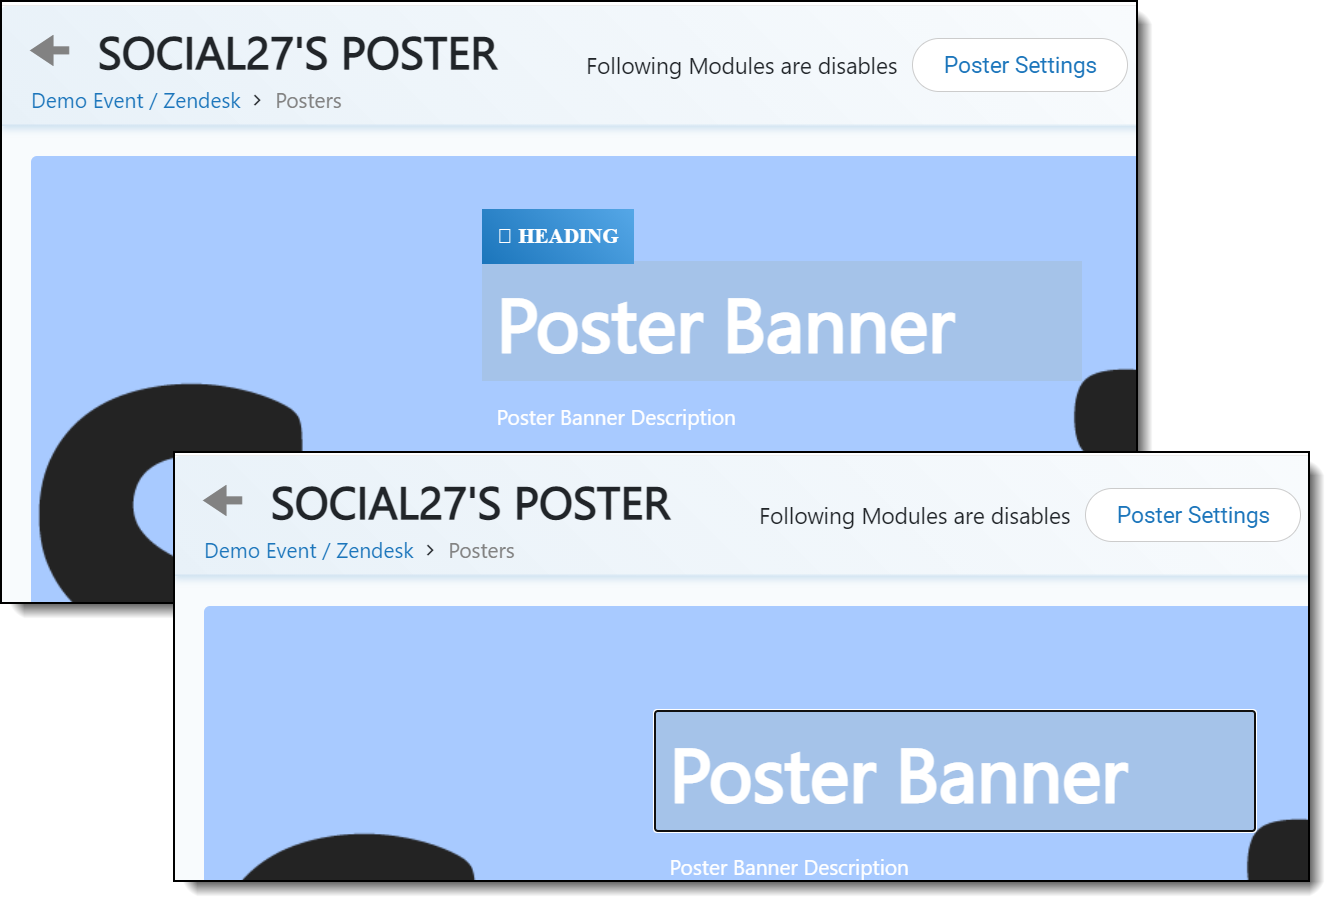
The page that loads is very similar to the poster page your attendees will see. You can edit the poster's layout and content from this page
Hover over the banner image at the top of the page to reveal the banner edit and delete buttons:

Hover over the poster heading and description to reveal the heading and sub heading fields. Click the text to edit it.

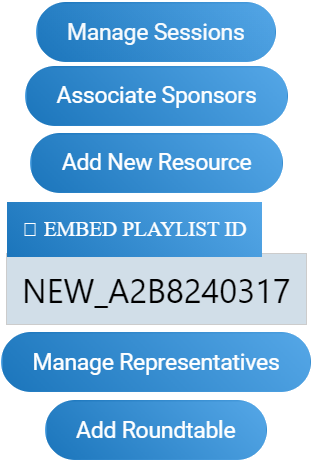
| Click the blue buttons on the right side of the screen to add sessions, sponsors, resources, poster representatives, playlists, and roundtables to the poster. |  |
|
|
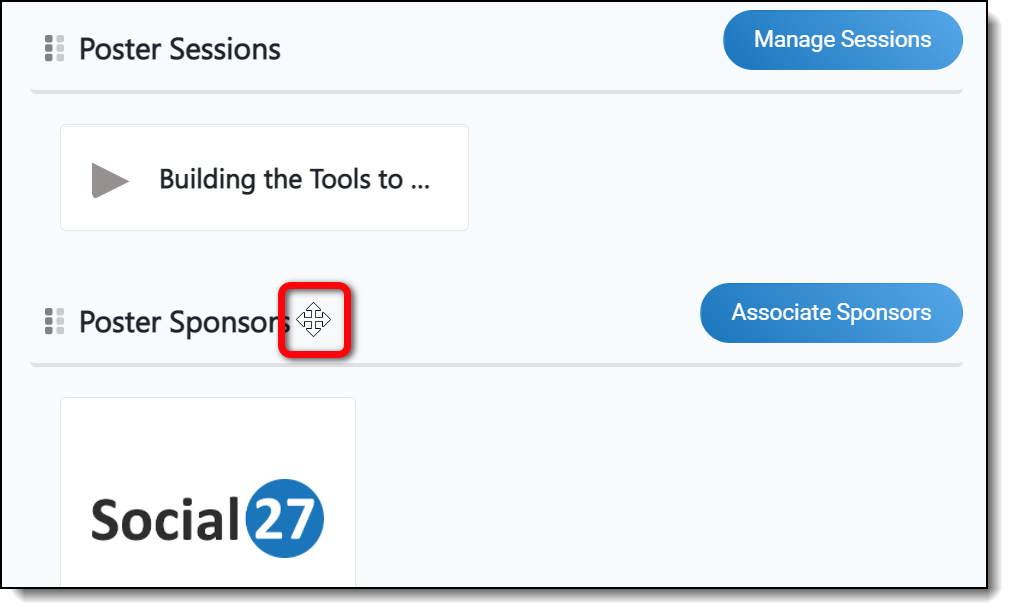
Change the order of poster sections by hovering over the section name. Your cursor will change to a cross cursor, and you can click and drag the it up and down on the page.

After making all your changes to the poster, don't forget to click the Update poster detail button at the top of the page to save your edits.

![]() Further Reading:
Further Reading:

Comments
0 comments
Please sign in to leave a comment.