Sponsors
Wanting to add sponsors to your event? Confused about what steps to make? Let's make that as easy as 1, 2,3. Follow this article to guide you through the process.
To access Sponsors:
Login to Admin-> Look for respective Event -> Choose Pages from left navigation panel -> Choose Sponsors
How to Add Sponsors:
Click on the “Add Sponsor” button, and a screen will pop up.

Below are the things that you will see on the pop-up screen:

- Upload Logo by clicking on the arrow up and click on Select Logo to choose the logo you preferred.
Note: We recommend using at least a 400x200px (2:1 ratio) image, no larger than 1 MB.
- Input the name of the logo
- a field where you can put the name of the logo.

- Input the Title.
- a field where you can add the title of the sponsor.

- Input the Description
- a field where you can put the description of the sponsor.

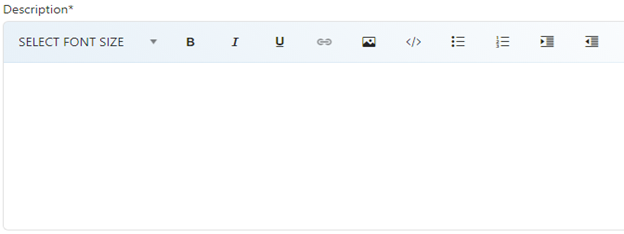
This description box also has the following options:
You can select the font size, make the letters in Bold, Italic, and Underline by clicking on the right icon.
Also allows you to add a hyperlink, add an image, view the source, insert an unordered list or ordered list, and lastly to indent or outdent.
Select Playlist
-Choose the Playlist you want on the drop-down menu by clicking the arrow.

Choose appropriate Sponsor type
- Choose what appropriate Sponsor type from the drop-down by clicking the arrow.

Choose Sponsor package
- Choose what Sponsor package from the drop-down by clicking the arrow.

Tags
- Choose the AOI that you prefer from the options by clicking on this field.

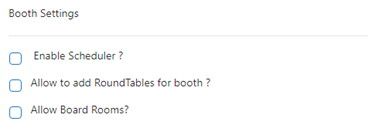
Choose booth settings
- you can enable the following by putting a checkmark on each box.

Providers
- during live sessions, you can tick the box of what platform to use.

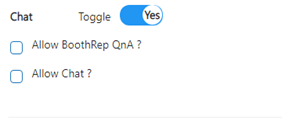
Chat
-for Chat, you can enable the following by putting a checkmark on each box

Please check the video below for visual representation :
Comments
0 comments
Please sign in to leave a comment.