As an event owner, you can set up automatic emails that notify the attendees of updates prior to and throughout your event. These emails can also be sent in response to actions taken by attendees during the event (such as registering for the event, creating a roundtable, forgetting a password, etc.). You can customize the banner of these emails as well as the message content.
This article describes how to create a new automated email template. To learn how to use and edit default automated email templates, check out this article.
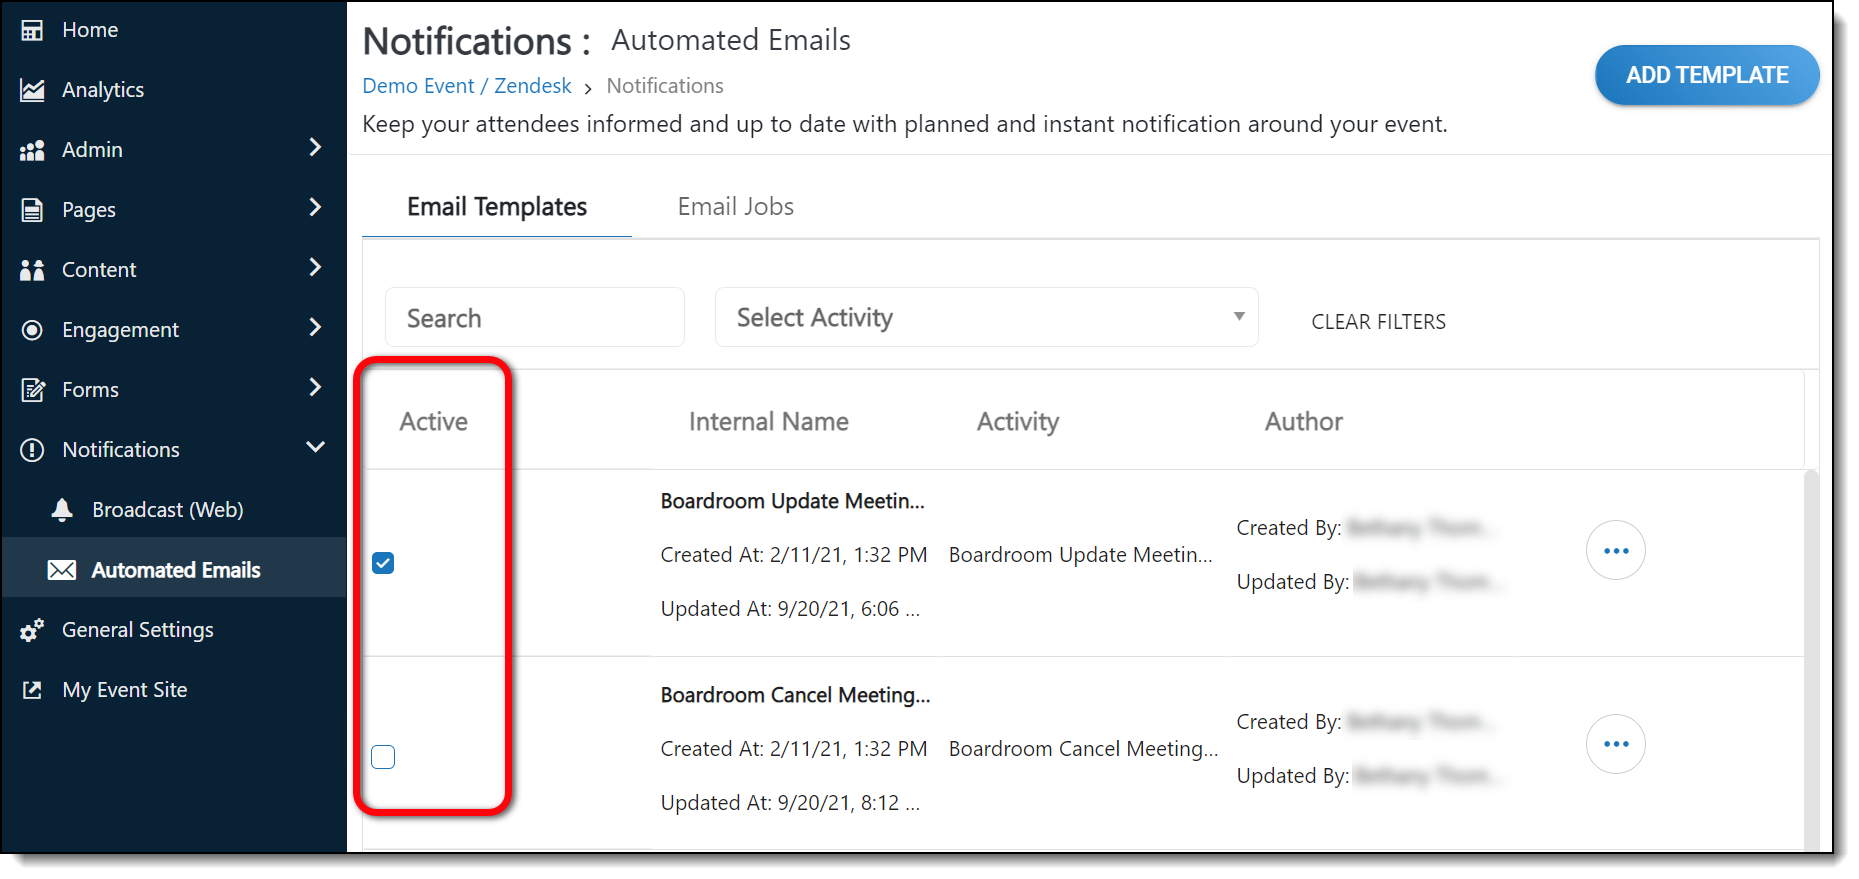
To create a new automated email template, log in to the Events Builder, and click Notifications > Automated Emails in the let navigation menu. Click the Add Template button.

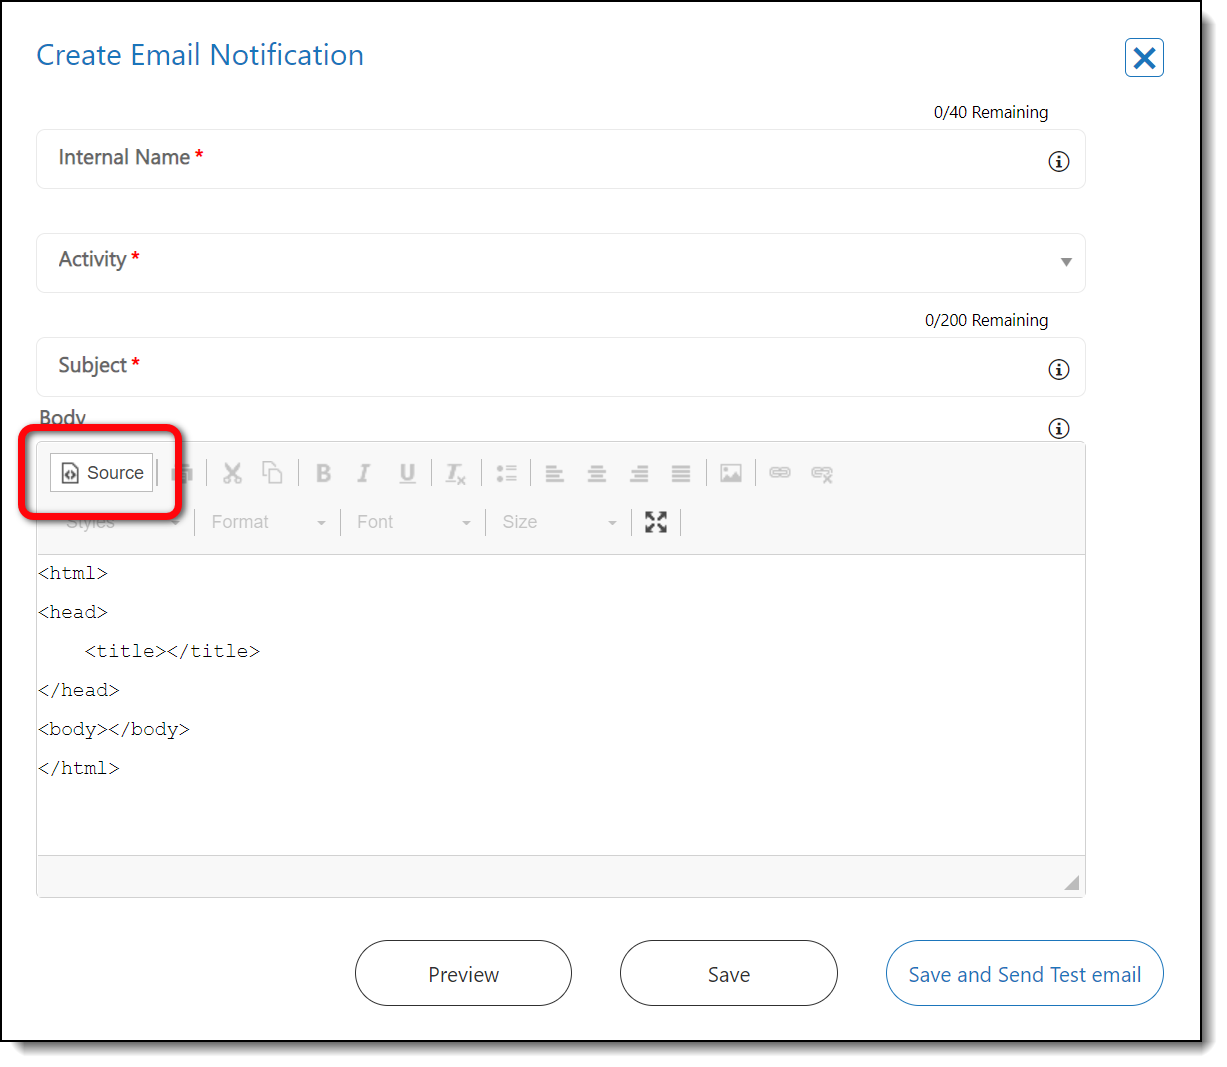
When the Create screen loads, you can insert the following information:
- Internal Name: The name of the email template in the Events Builder (This name does NOT appear to the email recipient.)
- Activity: The activity that triggers the email to be sent (ex: a user forgets their password and clicks Forgot Password on the sign-in screen)
- Subject: The email's subject line
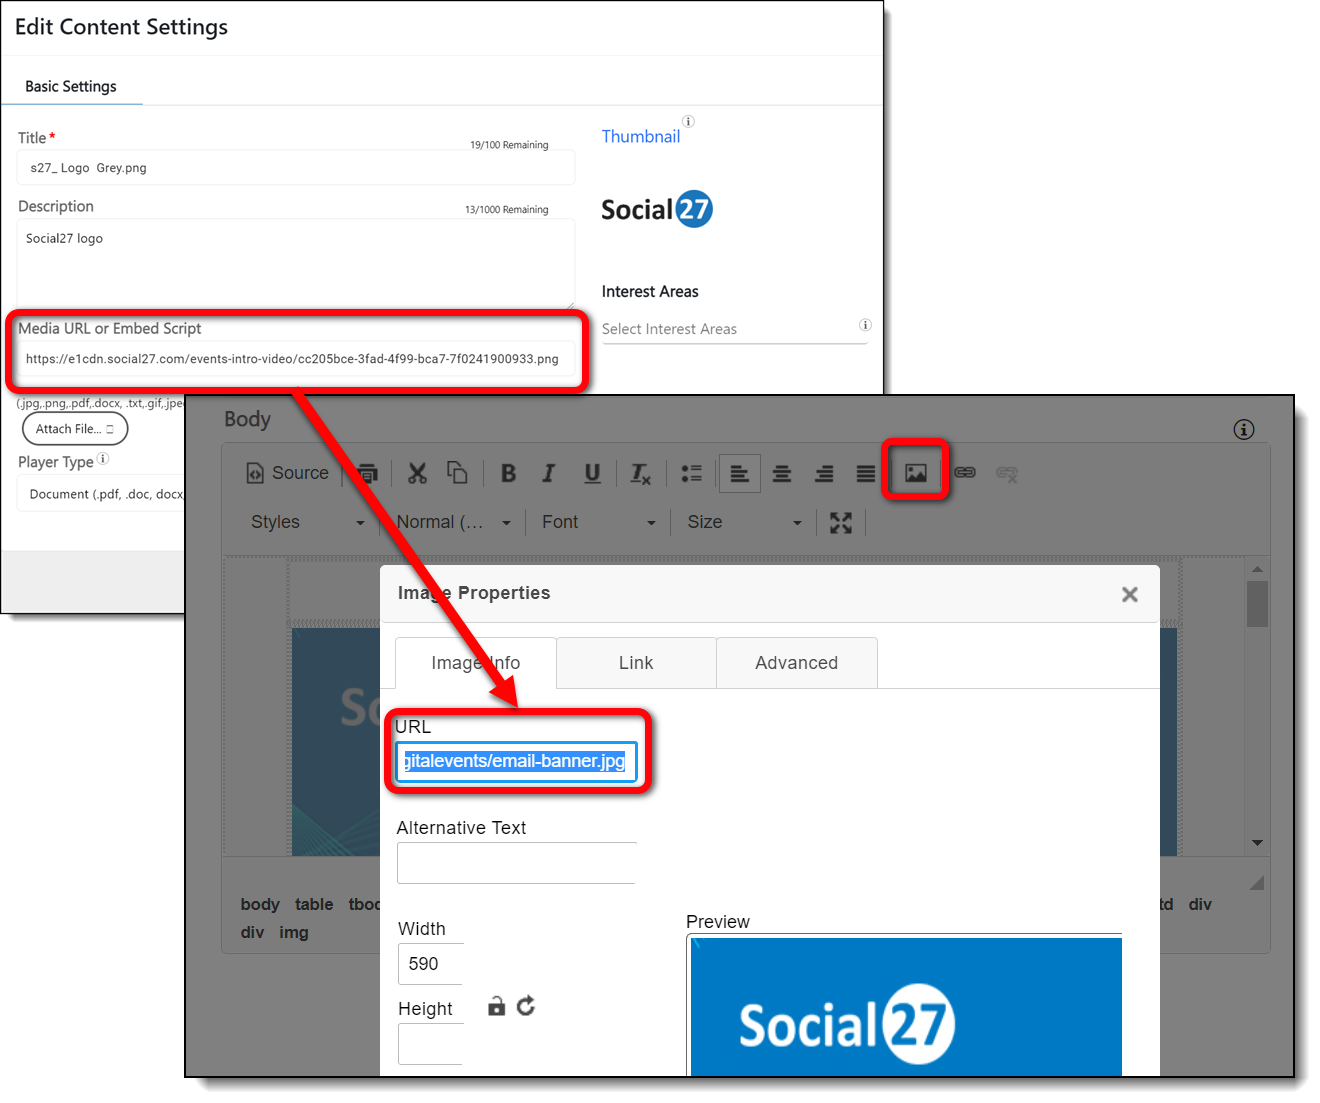
- Body: The body of the message; you can use the toolbar to format text, message layout, and insert images and hyperlinks

Click Source in the toolbar to insert HTML rather than using the text editor to complete the body of your email. You can use your own HTML or use our template.

|
|
Use the Preview button to see what the email looks like, and click Save and Send Test email to send a test email to yourself to see what the email actually looks like.
Once you've saved your new template, make sure the checkbox in the Active column is checked. This will ensure the email is active and sent to attendees when they perform the action specified in the template.

![]() Further Reading:
Further Reading:

Comments
0 comments
Please sign in to leave a comment.